
I'm finally back with more updates on my "Under the Sea" quiet book pages! Since this two pages are continuous, I am going to do the step-by-steps here together.
1. Draw and cut all patterns needed. These include coral, fish, eyes, and oyster.

2. There are four red fish cut-outs and two orange fish cut-outs.

3. Cut short strips of ribbon and lightly burn the raw edges to prevent fraying. Sew ribbons onto the back of the fish as shown in picture. Stick the front and the back of the fish together using a glue gun. Next, attach the eyes of the fishes. Sew the pieces together for reinforcement if desired.


4. Glue two piece of oyster cut-outs (beige colour) together and hand-sew the decorative stitches. Glue the inside of the oyster (pink colour) onto the back of the oyster (dark brown). Then, sew a pearl bead (faux pearl, of course, haha) and your oyster is almost ready.

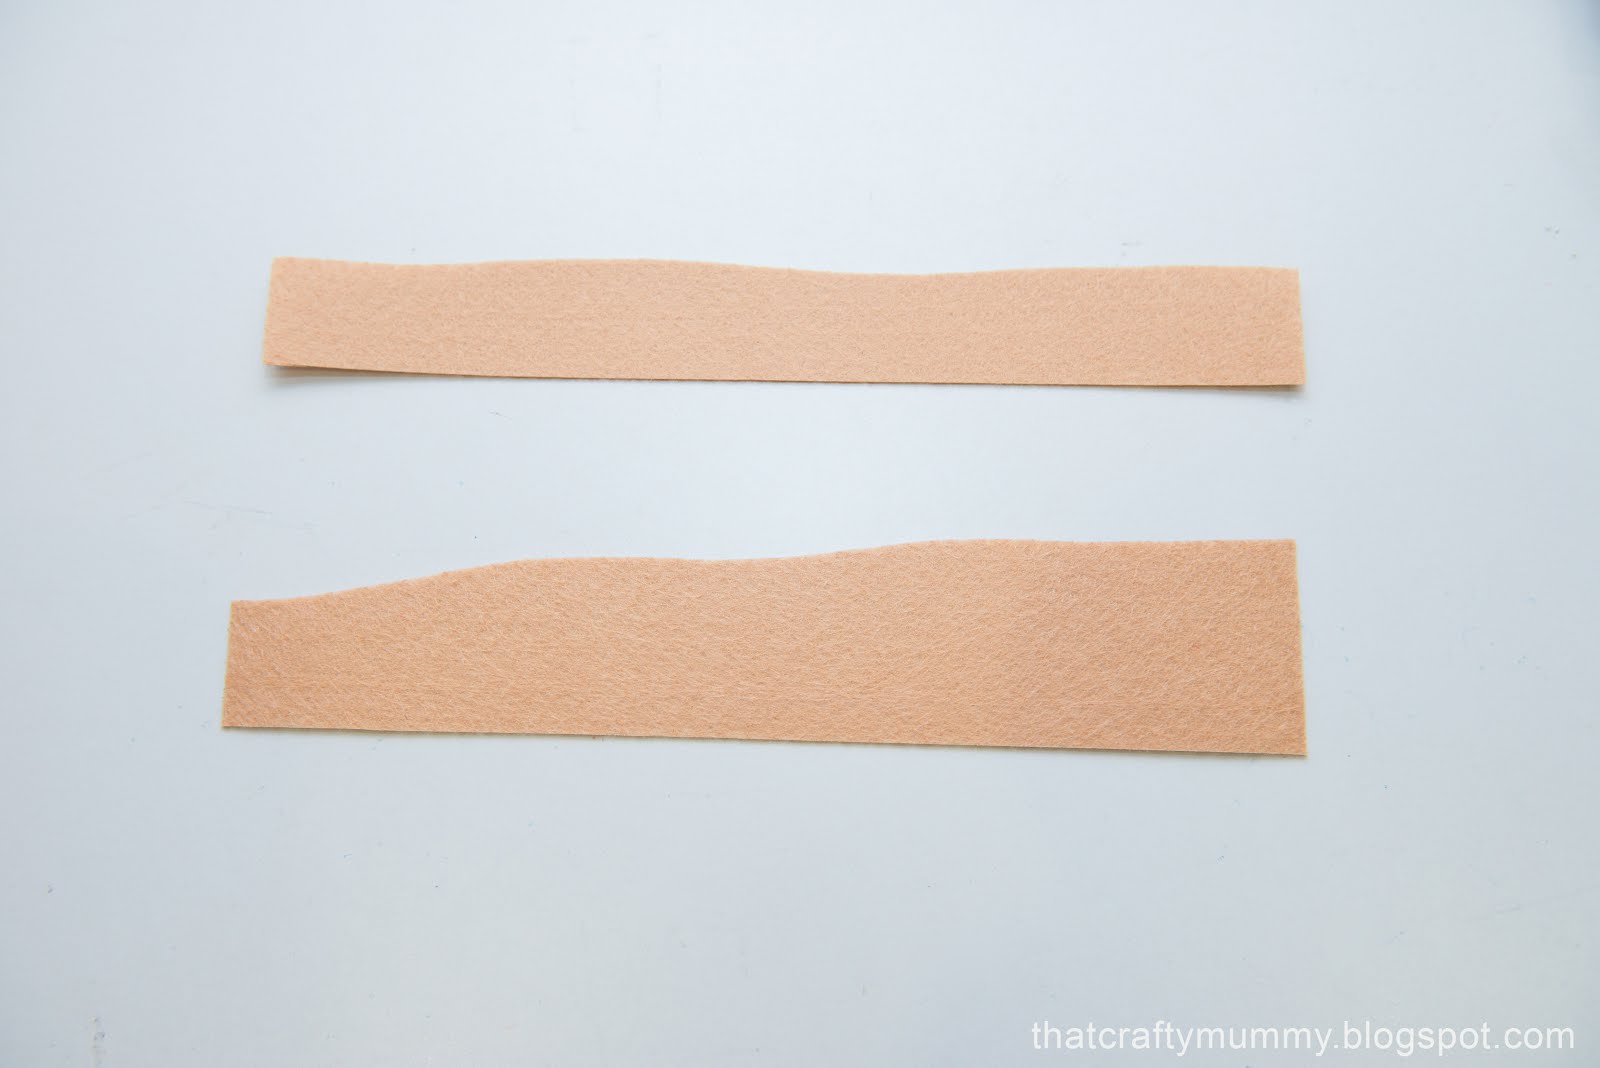
5. Cut two piece of "seabed".
6. Run a ribbon through the back of the fishes to create "slides".

7. Arrange all items for the page to get a rough idea of how the page will look like later.

8. Stick both ends of the "slides" onto the pages, one end on one page.

9. Using a glue gun, stick all other items onto the pages so as to cover up the ends of the ribbon.

10. Hand-sew the bottom of the shell (I sew mine to resemble a mini oval shape as shown in picture) onto the oyster to create a flap.

Yay! The pages is now ready for binding! Stay tuned for my future post on how to bind quiet book pages together!


No comments:
Post a Comment